As social media platforms continue to expand their features, the integration of financial services has become increasingly common. Facebook, in particular, has streamlined the process of adding a bank account to provide users with a convenient way to manage transactions within the platform. In this step-by-step guide, we will walk you through the process of adding a bank account to your Facebook account.
How to Add a Bank Account on Facebook
there are some follow step:-
Step 1: Log into Your Facebook Account :Begin by logging into your Facebook account using your preferred web browser or the mobile app.

Step 2: Navigate to Settings Once logged in, locate the settings menu. On the Facebook app, you can find this by tapping the three horizontal lines in the bottom-right corner. On the desktop version, the settings option is usually represented by a small downward arrow in the top-right corner of the screen.

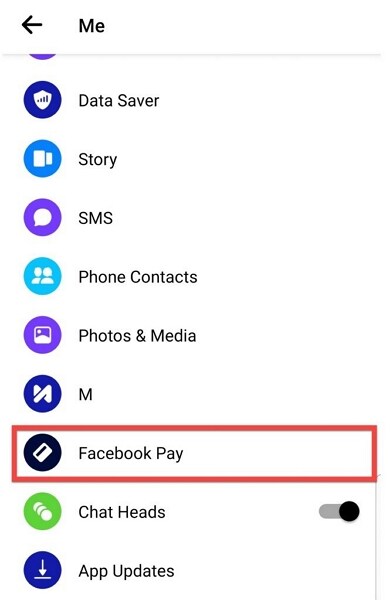
Step 3: Access “Facebook Pay” In the settings menu, look for an option called “Facebook Pay” or a similar term, depending on the platform’s layout. Click on this option to proceed to the payment settings.

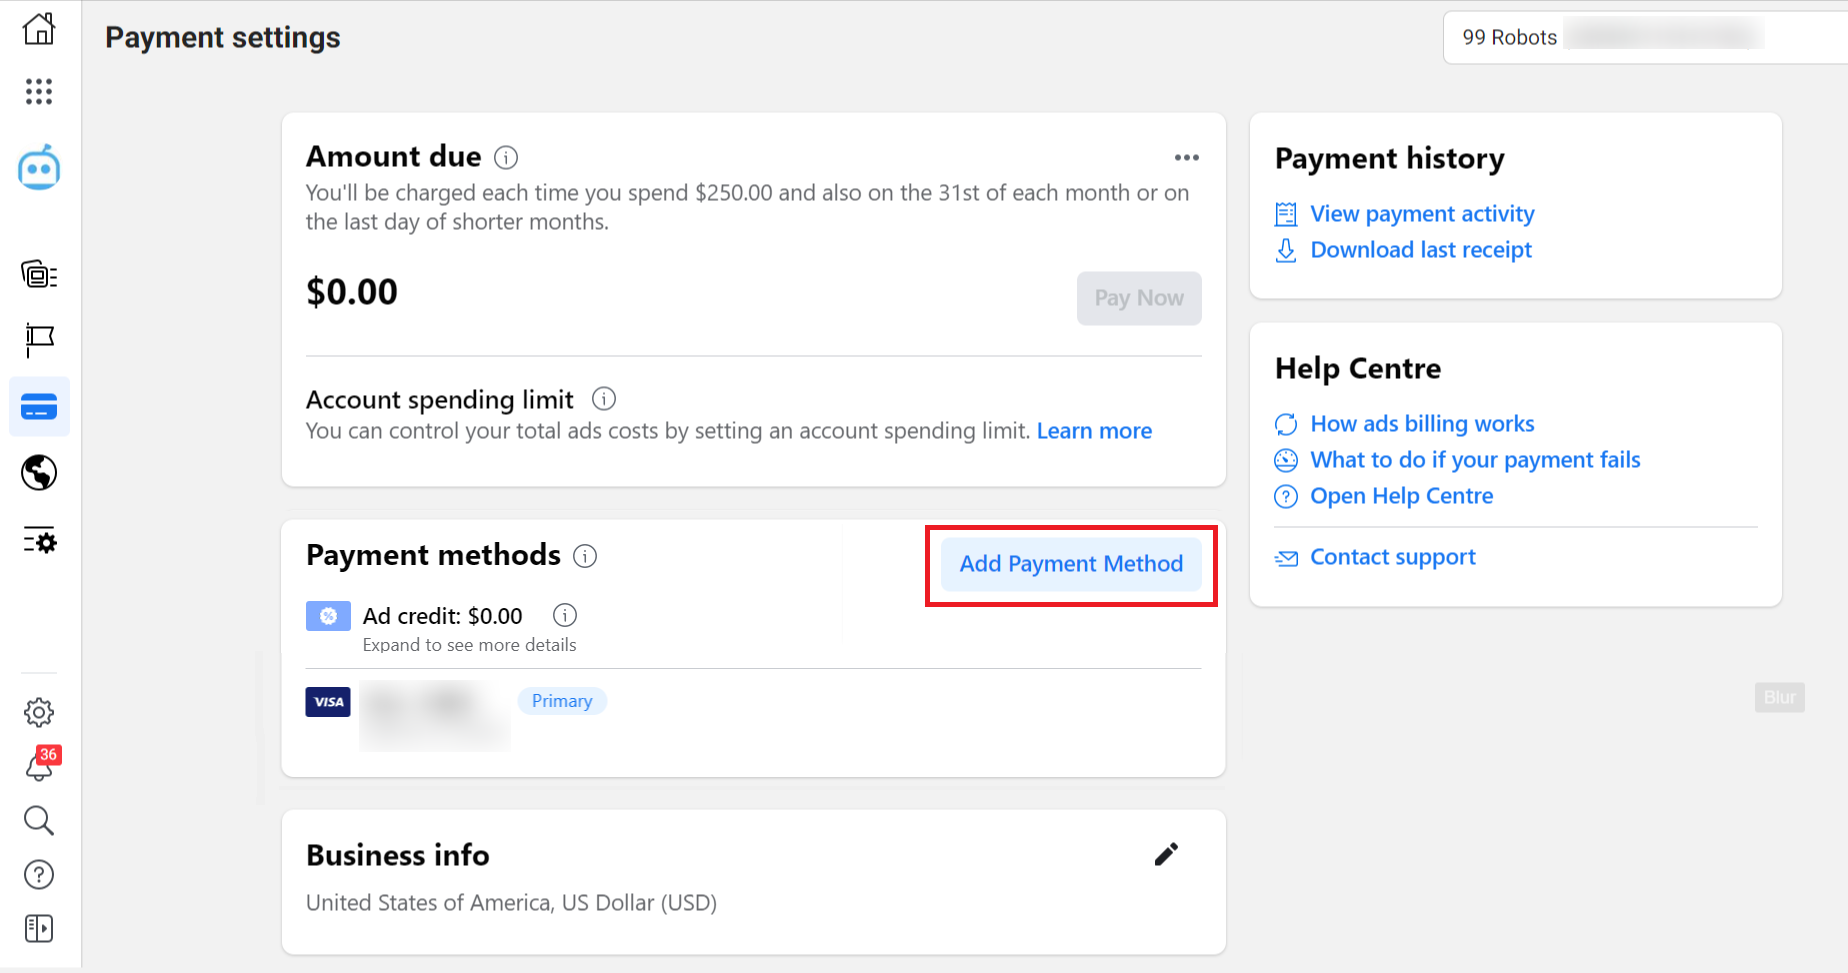
Step 4: Add a Payment Method Under “Payment Methods” or a similar section, you should find an option to add a new payment method. Select “Add Bank Account” from the available choices.

Step 5: Enter Your Bank Account Information You will be prompted to enter your bank account details. This typically includes your bank’s name, your account number, and the routing number. Ensure that the information provided is accurate to avoid any transaction issues.

Step 6: Verify Your Identity To maintain security, Facebook may require additional verification steps. This could involve confirming your identity through a code sent to your email or mobile number associated with your Facebook account.

Step 7: Set Your Preferred Payment Method Once your bank account is successfully added and verified, set it as your preferred payment method under the “Facebook Pay” settings. This ensures that transactions conducted on the platform are linked to the specified bank account.

Step 8: Review Privacy and Security Settings Before finalizing the process, take a moment to review your privacy and security settings related to financial transactions on Facebook. Adjust these settings according to your preferences and comfort level.

Step 9: Confirm and Save After completing all the required steps, confirm your bank account information and save the changes. Facebook may prompt you to enter your account password or use additional security measures to finalize the process.
>> How to Viral Facebook Reel Step by Step
Conclusion: Adding a bank account to your Facebook account is a straightforward process designed to enhance your user experience by providing a seamless way to manage transactions. By following these step-by-step instructions, you can confidently link your bank account to Facebook and enjoy the convenience of integrated financial services within the platform. Remember to stay vigilant about your privacy and security settings to ensure a safe and secure online experience.
I will keep writing more posts related to this, so do not forget to bookmark (Ctrl + D) our blog “EduTechGyan.COM” on your mobile or computer and subscribe us now to get all the posts in your email.
If you like this post, then do not forget to share it with your friends. You can help us reach more people by sharing it on social networking sites like Facebook or Twitter. Thank you !


